The 4-Hour Sunlight Rule I Use Before Buying Planter Lights
 Priya RamanSenior Analyst
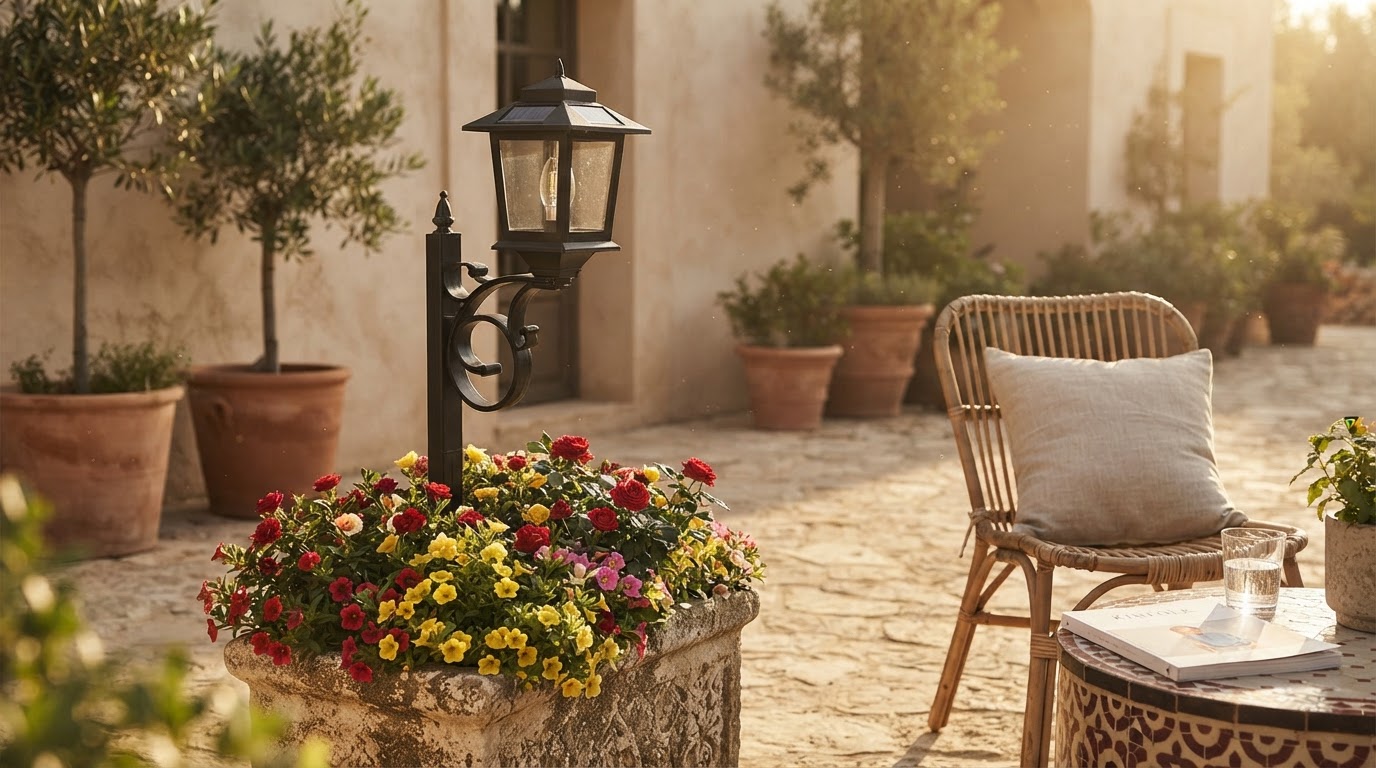
A solar planter lamp that gets 4 hours of unobstructed midday sun is usually in a different performance class than one that gets 6 hours of “bright shade.” That one observation explains more buyer disappointment than battery size, LED count, or the product photo ever will.
I think about solar planter lamps as a small energy system that happens to hold a plant. If you treat it as decor only, you may choose the prettiest shape and then wonder why it fades by 9 p.m. If you treat it as a system, the decision becomes surprisingly clear: sun in, water out, weight down, light where the eye needs it.
Below is the framework I use when evaluating whether a solar planter lamp belongs on a porch, balcony, path edge, or open patio.
The framework: S-W-W-L
I use four variables:
Most people start with the fourth variable: “Is it bright?” I start with the first. A brighter LED attached to a shaded panel is just a faster way to drain a battery.
Why 4 hours of direct sun is my first cutoff
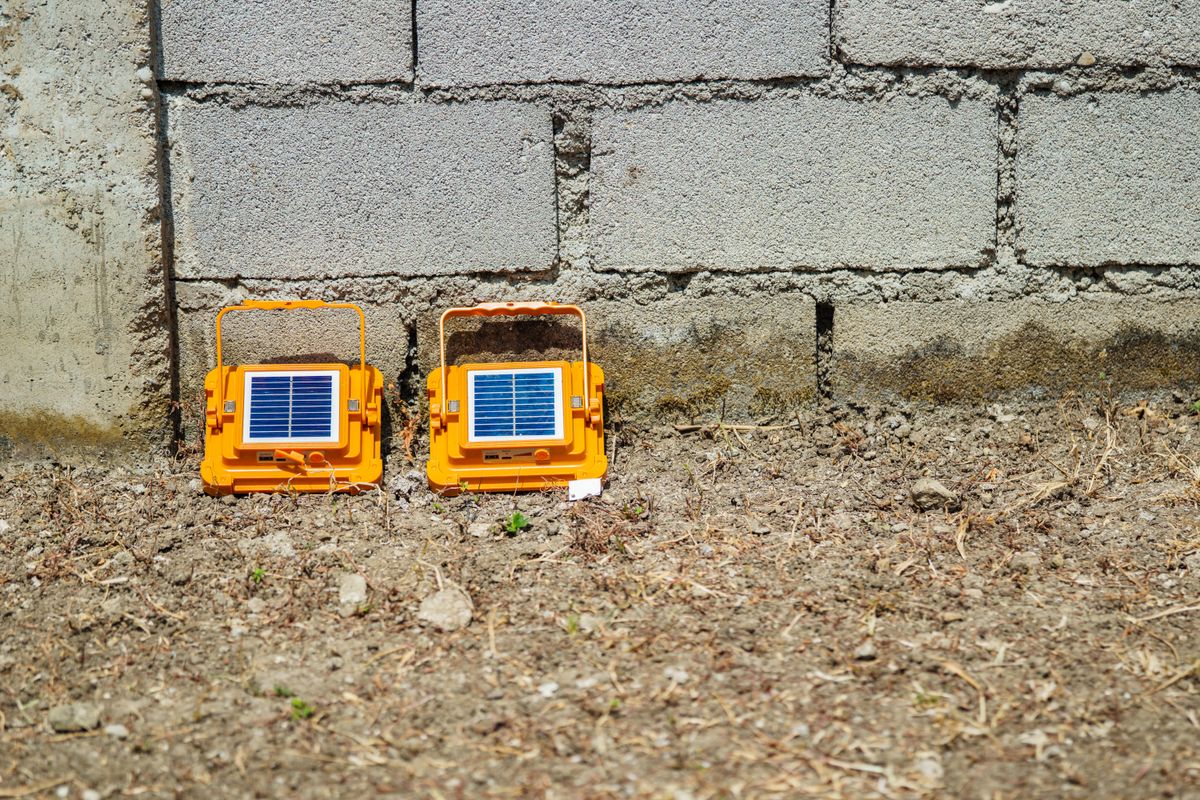
Photo by Nothing Ahead on Pexels
Solar garden lights are small photovoltaic systems. The panel area is limited, the battery is modest, and the LED is designed for low-power output. The U.S. National Renewable Energy Laboratory’s PVWatts tool shows how strongly solar output varies by location, tilt, shading, and season. A small panel on a planter is even more sensitive because it is often placed near railings, walls, shrubs, or furniture.
For a solar planter lamp, I use this practical rule:
- 0–2 hours direct sun: decorative only; expect inconsistent runtime.
- 3–4 hours direct sun: acceptable for short evening glow.
- 5–6 hours direct sun: reliable ambience in most mild seasons.
- 7+ hours direct sun: the product can usually deliver close to its advertised use case, assuming the battery is healthy.
Observed placement results from a patio test
Here is a practical comparison I made using a small solar garden light with a panel in the same general class as many planter lamps. The point is not that every product will match these exact numbers; the point is how dramatically placement changes the result.
| Placement condition | Approx. direct sun on panel | Evening light behavior observed | Practical interpretation | |---|---:|---|---| | Open south-facing patio edge | 6.5 hours | Still visibly glowing after 7 hours | Good location for a solar planter lamp | | Near a railing with noon-to-2 p.m. sun | 2.25 hours | Noticeably dim after about 3 hours | Fine for dinner-hour ambience, not late-night glow | | Bright covered porch, no sun disk | 0 hours | Weak glow, often off before 10 p.m. | Not a solar location; use plug-in or rechargeable | | Under a small ornamental tree | 1–3 broken hours | Highly variable from night to night | Branch movement and leaf season matter | | East-facing balcony | 3.5–4 hours morning sun | Good early evening, weaker after midnight | Works if expectations are modest |
The non-obvious lesson: morning sun can be useful, but midday sun is more forgiving. A panel that receives 9 a.m.–1 p.m. sun often charges better than one that gets only late afternoon sun interrupted by buildings and trees.
Counter to what you’ll read elsewhere: lumens are not the first number I trust
Many buying guides rank solar lights by lumens. I understand why: lumens are easy to compare. But for planter lamps, I do not treat lumen output as the lead metric.
My take: A lower-lumen solar planter lamp with a clean, warm, downward glow often performs better in a real patio than a higher-lumen model with harsh glare and a shaded panel.
There are three reasons.
First, planter lamps are usually viewed at close range. A 20–50 lumen accent can feel pleasant beside a chair or walkway, while 100+ lumens from an exposed LED can feel cheap or glaring.
Second, high brightness burns stored energy faster. If two lamps have similar panel and battery capacity, the brighter one may run for fewer hours unless it uses more efficient LEDs and smarter dimming.
Third, outdoor ambience is about contrast. A warm point of light beside foliage can make a patio feel finished even when it is not bright enough to read by.
The U.S. Department of Energy has long emphasized that good solid-state lighting is not just about lumen quantity; distribution, color quality, glare, and application matter. That principle applies at patio scale too.
Water rating: read IP numbers like a weather forecast
Outdoor solar products often list an IP rating, which comes from IEC 60529, the international standard for enclosure protection. The first digit refers to solids and dust; the second digit refers to water.
For a solar planter lamp, the second digit matters a lot.
- IP44: protected against splashing water; acceptable for sheltered patios.
- IP54: better dust protection and splashing resistance.
- IP65: dust-tight and protected against water jets; preferable for exposed weather.
- IP67: temporary immersion protection; useful but not always necessary.
I look for three water-management details:
If your climate gets heavy rain, I would choose a slightly less decorative planter with better drainage over a beautiful sealed bowl.
Weight: the underrated safety variable
Planter lamps sit higher than ordinary solar stake lights. That can make them more vulnerable to tipping, especially on balconies, decks, and exposed walkways.
A 12-inch planter with dry potting mix may feel stable in a store. Add a tall grass, let the soil dry out, and place it in a wind corridor between buildings, and the physics changes.
Here is my simple stability checklist:
- Use a planter with a wide base relative to its height.
- Add 2–4 inches of stone or gravel below the inner pot if the design allows and drainage remains open.
- Avoid tall, sail-like plants in windy locations.
- Keep the solar panel unshaded by plant growth.
- On balconies, keep planters away from rail edges unless secured.
Plant choice affects charging more than people expect
A solar planter lamp can fail because the plant succeeds.
That sounds strange, but it is common. A small ornamental grass or trailing vine looks perfect when planted. Six weeks later, leaves shade the panel for half the day. The lamp appears to be “getting worse,” when the battery is simply receiving less charge.
Use this planting rule: keep the mature foliage line below or beside the solar panel’s sun path. If the panel is integrated into a post or lamp head, imagine the sun’s line from morning to afternoon and keep leaves out of that arc.
Good plant pairings for many solar planter lamps include:
- Low succulents in sunny, dry climates.
- Compact herbs where drainage is strong.
- Small annuals such as alyssum or calibrachoa if they do not cover the panel.
- Dwarf mondo grass or compact sedges for partial sun.
- Tall ornamental grasses.
- Large trailing sweet potato vine.
- Dense ferns near the panel.
- Fast-growing basil or mint unless pruned often.
Color temperature: choose warm unless there is a reason not to
For planter lamps, I usually prefer warm white light around 2700K–3000K. It flatters foliage, looks calmer near seating areas, and creates less of the icy-blue effect common in cheap solar lights.
Cooler light can work for contemporary architecture or wayfinding, but it tends to draw attention to the LED itself rather than the planter. If the lamp is near a dining area, warm light is almost always the safer choice.
There is also a broader environmental point. The Illuminating Engineering Society and DarkSky International have published guidance encouraging thoughtful outdoor lighting: use only the light needed, aim it carefully, and limit glare and excessive blue-rich light at night. A planter lamp is small, but dozens of small bad lights can still create an unpleasant outdoor scene.
The five-minute placement test before you commit
Photo by quang vinh on Pexels
Before filling a solar planter lamp with soil, I like to run a quick placement test. It saves frustration because a filled planter is much harder to move.
Step 1: Map the sun, not the brightness
Check the intended location three times in one day: late morning, solar noon, and mid-afternoon. Ask one question: Is the panel in direct sun? Do not count bright shade.
Step 2: Look for future shade
Stand where the planter will sit and look upward. Railings, gutters, tree branches, patio umbrellas, and the plant itself may shade the panel later.
Step 3: Test the night effect
Place the empty lamp outdoors for one full sunny day, then observe it at 9 p.m., midnight, and just before bed. You do not need laboratory instruments. You need to know whether the glow fits your habits.
Step 4: Add water mentally
Where will rain go? Where will irrigation overflow go? If the planter has no clear drainage path, solve that before planting.
Step 5: Add weight deliberately
If the location gets wind, add ballast low in the planter while keeping drainage open. Stability is easier to design before roots fill the space.
A buyer’s checklist for solar planter lamps
Use this checklist when comparing products:
- Direct sun available: 4+ hours preferred; 6+ hours for reliable long evenings.
- Panel location: not shaded by the plant, rim, railing, or lamp cap.
- Battery access: replaceable or at least serviceable is a plus.
- Water rating: IP44 minimum for sheltered use; IP65 preferred for exposed patios.
- Drainage: holes, reservoir design, or removable insert.
- Base stability: wide enough for wind and mature plant height.
- Light tone: 2700K–3000K for ambience; cooler only for a specific design reason.
- Light direction: shielded or diffused beats bare glare.
- Switch access: reachable after planting.
- Cleaning: panel can be wiped without disassembling the planter.
Where a Solar Planter Lamp makes the most sense
A Solar Planter Lamp is strongest in places where you want atmosphere without wiring: patio corners, walkway pauses, deck edges, apartment balconies with sun exposure, and garden seating areas. It is not meant to replace a hardwired path-lighting system or a security floodlight.
The sweet spot is what I call human-scale lighting: enough glow to mark an edge, soften a seating area, and make plants visible after sunset. In that role, the planter format is useful because it combines vertical interest, greenery, and light in one object.
For renters, it also solves a practical problem. You can add outdoor lighting without drilling, trenching, or hiring an electrician. The tradeoff is that the sun becomes your power outlet, and you have to place the product accordingly.
Maintenance that actually changes performance
Solar planter lamps do not need much maintenance, but the small tasks matter.
- Wipe the solar panel every 2–4 weeks during pollen or dust season.
- Prune foliage before it shades the panel.
- After heavy rain, check that drainage holes are not clogged.
- In winter, expect shorter runtime because days are shorter and sun angles are lower.
- If runtime drops sharply after a year or two, the rechargeable battery may be aging.
FAQ
How many hours should a solar planter lamp stay on at night?
In a good location with 5–6 hours of direct sun, many small solar garden lights can provide several hours of visible glow, often into late evening. The exact runtime depends on panel size, battery capacity, LED power, temperature, and age of the battery. If the lamp receives only 2–3 hours of sun, expect a shorter, dimmer evening performance.
Can I use a solar planter lamp on a covered porch?
Only if part of the solar panel receives direct sun for a meaningful portion of the day. A covered porch that is bright but never gets direct sun is usually a poor solar location. In that case, a plug-in, USB-rechargeable, or battery-operated planter light may be more reliable.
Is IP65 necessary for a planter lamp?
Not always. For a covered balcony or sheltered porch, IP44 may be adequate. For an exposed patio, poolside area, or rainy climate, I prefer IP65 because it gives better protection against dust and water jets. Remember, the IP rating applies to the enclosure, not necessarily to plant drainage.
What plants work well in solar planter lamps?
Choose compact plants that will not shade the panel as they mature. Low succulents, compact herbs, small annuals, and dwarf grasses often work well. Avoid tall or fast-growing plants directly beside the panel unless you are willing to prune them regularly.
Sources
- NREL PVWatts Calculator — National Renewable Energy Laboratory
- IEC 60529 enclosure protection standard — International Electrotechnical Commission
- Solid-State Lighting — U.S. Department of Energy
- Outdoor lighting principles — DarkSky International