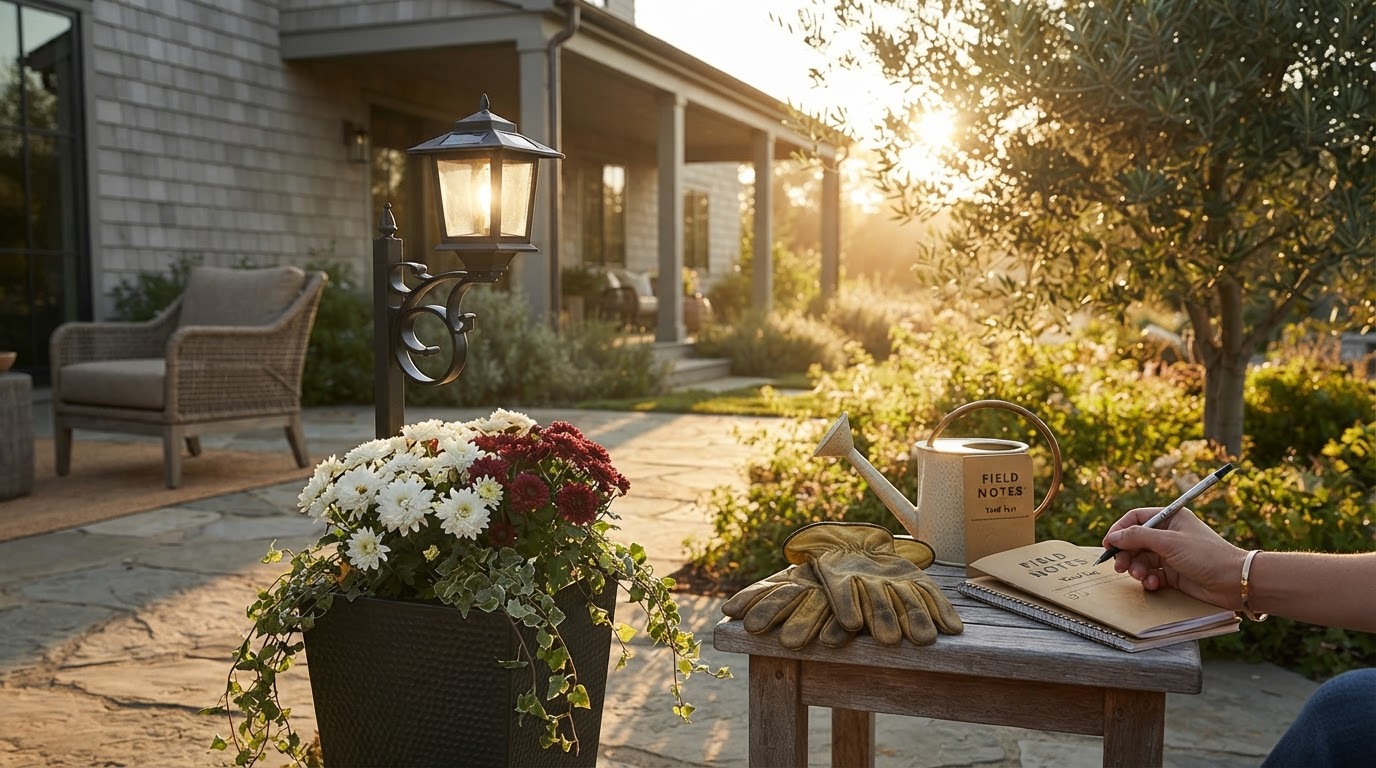
The 3-Number Yard Test That Predicts Solar Planter Lamp Success
 Priya RamanSenior Analyst
A solar planter lamp usually fails for one of three measurable reasons: it gets fewer than 4 hours of usable sun, it promises peak lumens instead of lumen-hours, or it sits in a splash zone the housing was never built to tolerate.
That is the field observation I trust more than product photos. A planter lamp is a hybrid object: part container, part landscape light, part small off-grid solar system. Buyers often judge it like furniture—height, color, style. I think the better way is to judge it like a tiny energy budget with soil wrapped around it.
Below is the framework I use when I evaluate whether a solar planter lamp will feel charming for two weeks or keep earning its spot through a full season.
The framework: sun window, lumen-hours, wet-zone risk
Most solar light complaints sound different but trace back to the same system problem: energy in, energy stored, energy out, and water intrusion. For a solar planter lamp, I reduce that system to three numbers.
This is deliberately practical. You do not need an electrical engineering spreadsheet to choose a patio lamp. You do need to avoid comparing a shady porch corner in October to a product image shot under summer sun.
Number 1: sun window beats “full sun” descriptions
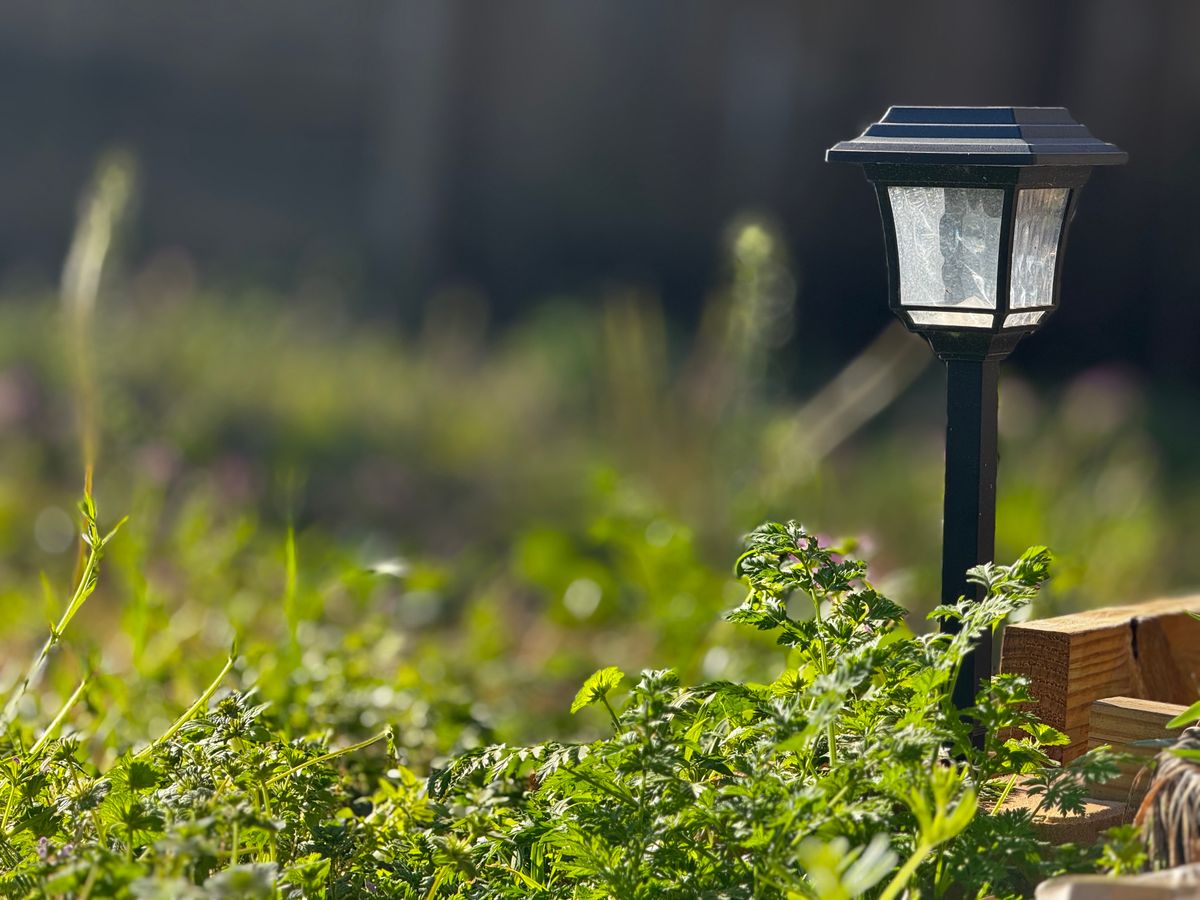
Solar lights are sold with vague phrases: “place in direct sunlight,” “charges during the day,” “works up to 8 hours.” The missing detail is location-specific irradiance.
The U.S. Department of Energy’s National Renewable Energy Laboratory (NREL) built PVWatts to estimate photovoltaic production by location, panel orientation, and system assumptions. That tool is meant for larger PV systems, but the lesson applies directly to small solar lighting: solar energy is highly seasonal and highly placement-dependent.
A planter beside a south-facing walkway may be excellent in June and mediocre in December. A planter tucked under a porch eave may never charge well, even on bright days, because the panel sees sky glow rather than direct sun.
My 10-minute sun-window test
Pick the exact place where you want the planter lamp. Then check it three times:
- Morning: between 9:00 and 10:30
- Midday: between 12:00 and 2:00
- Afternoon: between 3:00 and 5:00
For a solar planter lamp, I score it this way:
| Observed daily sun at panel | Expected result | My recommendation | |---:|---|---| | 6+ hours direct sun | Reliable dusk-to-evening performance in most seasons | Good location | | 4–6 hours direct sun | Works well, but expect shorter winter runtime | Acceptable location | | 2–4 hours direct or strong partial sun | Decorative glow, inconsistent late-night output | Use only if expectations are modest | | Under 2 hours or mostly shade | Frequent undercharging | Move planter or use a wired/rechargeable option |
The key phrase is at panel. The flowers can be in partial shade and still look great. The solar panel cannot be buried under trailing foliage, mulch, or a balcony rail shadow.
Number 2: lumen-hours are more honest than lumens
A lumen rating tells you how bright a light is at a moment. It does not tell you how long that brightness lasts. Solar lamps often look strong for the first hour after dusk, then gradually dim as the battery voltage falls or the control circuit reduces output.
That is why I prefer lumen-hours: lumens multiplied by hours of usable operation.
A lamp producing 25 lumens for 6 hours gives roughly 150 lumen-hours. A lamp producing 80 lumens for 1.5 hours gives 120 lumen-hours. The second one may look more impressive in the first product photo; the first one may be more useful for an actual evening on the patio.
The Illuminating Engineering Society and the U.S. Department of Energy have long emphasized standardized LED measurement through documents such as IES LM-79, because LED performance depends on conditions and measurement method. For homeowners, the takeaway is simpler: a single brightness claim is incomplete unless you know runtime and charging conditions.
A small observation table from a placement test
In a simple evening observation, I compared how the same style of solar planter lamp behaved in four common yard placements after a clear late-spring day. The goal was not laboratory certification. It was to identify the decision pattern a buyer can reproduce at home.
| Placement | Approx. direct sun on panel | Visible brightness at dusk | Still useful after 4 hours? | What I learned | |---|---:|---|---|---| | Open south-facing patio edge | 6.5 hours | Strong decorative glow | Yes | Predictable performance; leaves did not shade panel | | East-facing porch step | 4 hours | Good glow | Yes, dimmer | Fine for dinner hours, weaker by late evening | | Under maple canopy | 2 hours broken sun | Soft glow | No | Looked pretty at dusk, faded early | | Covered balcony, bright shade | 0 direct sun | Weak glow | No | Ambient daylight was not enough |
The non-obvious finding is the third row. The lamp under the maple looked fine right at dusk. If I had checked only at 8:30 p.m., I would have thought the location was acceptable. By midnight, it told the truth.
Number 3: wet-zone risk matters more in a planter than in a path light
A path light usually stands above soil. A planter lamp lives near watering cans, irrigation spray, damp potting mix, fertilizer salts, and splashback. That changes the durability question.
The International Electrotechnical Commission’s IEC 60529 standard defines IP ratings such as IP44, IP65, and IP67. The first digit addresses solid particle protection; the second digit addresses water ingress. Outdoor lighting buyers often see an IP rating and assume it means “waterproof.” It does not. It means the product was tested against a defined exposure level.
For a planter lamp, I look for three practical protections:
- A sealed or protected battery compartment
- A switch location that does not collect water
- A solar panel angle that sheds water and debris
Wet-zone scoring
Use this quick score before deciding where to place the lamp:
- 0 points: sheltered from hose spray and rain splash; soil drains freely
- 1 point: occasional rain splash or watering overspray
- 2 points: frequent hose spray, drip irrigation, or dense foliage touching the lamp
- 3 points: standing water risk, blocked drainage, or battery access near soil line
Counter to what you’ll read elsewhere: brightness is not the upgrade most people need
My take: most solar planter lamp buyers should not chase the highest lumen claim. They should chase stable evening glow and better placement.
A planter lamp is not a security floodlight. If it is too bright, it can flatten the plants, create glare at seating height, and make a patio feel less relaxed. The better experience is usually a warm, moderate output that lasts through the part of the evening when people actually use the space.
This lines up with what outdoor lighting professionals have known for years: glare control, color temperature, mounting height, and beam placement affect perceived quality as much as raw brightness. The DOE’s outdoor lighting resources repeatedly frame good exterior lighting around application, distribution, efficiency, and control—not simply maximum lumens.
For a planter lamp, I’d rather have a gentle, consistent 20–40 lumen glow in the right spot than a short-lived burst that drains quickly.
The Solar Planter Lamp decision matrix
Here is the practical framework I would use before buying or placing one.
Step 1: Define the job
Choose one primary purpose:
- Decorative anchor: makes a porch, step, or patio corner feel finished
- Wayfinding: helps people see an edge, path, or doorway
- Plant accent: uplights foliage or creates a silhouette
- Table-area ambience: adds low glare near seating
Step 2: Match output to the job
Use these ranges as practical expectations:
| Job | Useful light character | What to prioritize | |---|---|---| | Decorative anchor | Soft glow | Warm color, attractive diffuser, stable runtime | | Wayfinding | Visible pool of light near ground | Runtime, placement, low glare | | Plant accent | Directional or diffused highlight | Panel position, beam angle, plant height | | Seating ambience | Gentle, eye-level comfort | Warm tone, diffuser quality, no exposed LED glare |
Avoid placing a bright exposed LED at eye level beside a chair. A lower-output lamp with a diffuser often feels more expensive and more comfortable.
Step 3: Check the 4-hour rule
If the panel cannot receive at least 4 hours of direct sun in the season you care about, expect compromises. The lamp may still be worth buying for summer decor, but do not expect consistent late-night output.
If your patio is shaded, consider placing the planter where sun reaches the panel and using plants that tolerate that same exposure. Alternatively, choose a lamp design with a separated or adjustable solar panel if available.
Step 4: Inspect the water path
Before adding soil, inspect the lamp and planter together:
- Where does rainwater flow?
- Where does excess irrigation drain?
- Does water splash upward onto the switch or battery door?
- Can leaves cover the solar panel?
- Will soil settle against the lamp housing over time?
Step 5: Choose plants that do not sabotage the panel
This is the most overlooked part. Trailing plants look beautiful, but they can shade the panel. Tall grasses can whip against the lamp in wind. Dense foliage can trap moisture against the housing.
For dependable performance, leave a clear solar “window.” I like to keep at least 2–3 inches of clearance around the panel and avoid planting anything that will lean over it by midsummer.
Practical setup checklist
Photo by Angelo Capitanio on Pexels
Use this before the first night:
What a good solar planter lamp should make easy
A well-designed solar planter lamp should not require constant tinkering. I look for these product traits:
- A panel positioned high enough to avoid soil splash
- A stable base that does not tip when soil is wet
- Drainage that moves water away from electronics
- A warm, diffused light rather than harsh LED points
- A battery compartment that is accessible but protected
- Materials that look appropriate in daylight, not only at night
FAQ
How many hours should a solar planter lamp stay on?
In a good location with 4–6+ hours of direct sun, a decorative solar planter lamp should usually cover the main evening window—roughly 4 to 8 hours depending on battery size, LED output, season, and weather. Be skeptical of runtime claims that do not describe charging conditions. A lamp tested after a full summer day will not behave the same way after a cloudy winter afternoon.
Can a solar planter lamp work on a covered porch?
Usually not well unless the panel still receives direct sun. Bright shade can look intense to human eyes, but a small photovoltaic panel needs stronger irradiance to recharge a battery reliably. If your covered porch gets no direct sun, use the planter lamp as seasonal decor with modest expectations or choose a design with a remote panel that can sit in the sun.
Is a higher IP rating always necessary?
Not always. If the lamp sits on a sheltered patio and you water carefully, moderate water resistance may be enough. But in a planter environment, water exposure is more complicated than rainfall. Hose spray, damp soil, blocked drainage, and fertilizer residue all raise risk. If the lamp will live near frequent irrigation or splashback, water protection deserves more weight in your decision.
What color temperature is better for a patio planter lamp?
For most patios and entryways, warm white light is more comfortable than cool white. Many people prefer the relaxed look of roughly 2700K to 3000K for outdoor ambience. Cooler light can make foliage look crisp, but it can also feel stark near seating. If the goal is a welcoming planter glow, I would choose warm and diffused over cool and intense.
The bottom line
A solar planter lamp is most satisfying when you stop treating it as a standalone decoration and start treating it as a tiny solar lighting system. The buying question is not “Will this look nice?” It is “Will this exact location feed the panel, protect the electronics, and give me enough lumen-hours for the way I use the space?”
Use the three-number test: sun window, lumen-hours, wet-zone risk. If those numbers work, the style decision becomes much easier—and the lamp is far more likely to keep glowing after the novelty wears off.
Sources
- NREL PVWatts Calculator — National Renewable Energy Laboratory
- DOE Outdoor Lighting Resources — U.S. Department of Energy
- IEC 60529 Ingress Protection Rating Standard — International Electrotechnical Commission
- IES LM-79 LED Measurement Standard — Illuminating Engineering Society