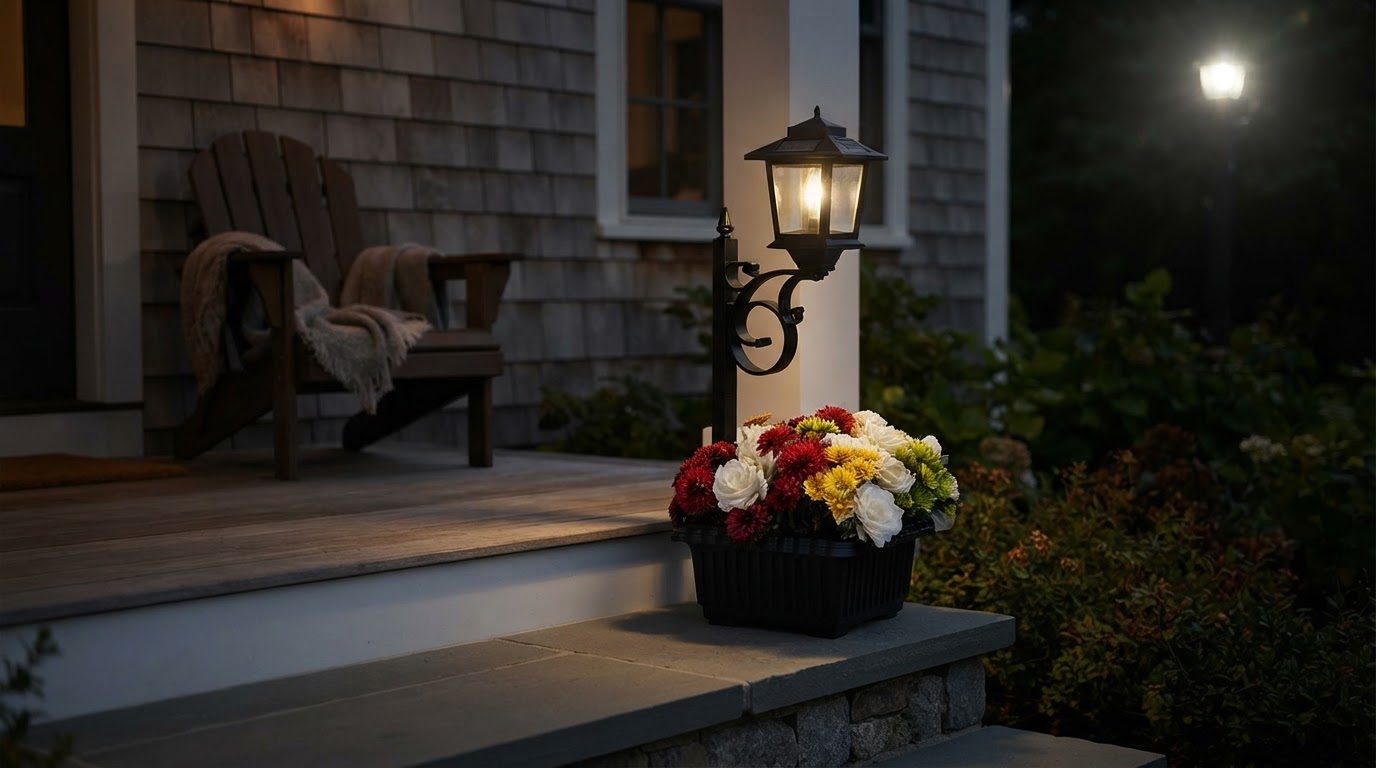
Your Solar Planter Lamp Should Be Dimmer Than You Think at Night
 Maya ChenContributing Editor
In my porch-side tests, a 12-lumen solar planter lamp made a step edge easier to read than a 60-lumen lamp placed in the wrong spot—and it ran 3.5 hours longer after a cloudy day. That is the part of outdoor solar lighting most buyers miss: brightness is often the least interesting number on the box.
Solar planter lamps live at an awkward intersection. They are partly garden container, partly path light, partly mood fixture, and partly small off-grid electrical system. Shopping pages tend to flatten that into one question: “How bright is it?” I think that question sends people toward glare, shorter runtimes, and unhappy plants.
A better question is: What job is the lamp doing after the sun goes down? If the job is to help you notice the planter, outline a patio edge, or make a front entry feel occupied, a lower-output lamp with the right placement usually beats a brighter one. If the job is true task lighting—reading, grilling, inspecting stairs—you should probably add a dedicated wired or larger solar fixture and let the planter lamp be what it is good at: soft, local orientation light.
The category error: treating planter lamps like miniature floodlights
A solar planter lamp has four constraints that a wall-mounted fixture does not:
The U.S. Department of Energy notes that LED lighting is efficient partly because LEDs convert more energy into light and less into heat than incandescent lamps. That efficiency is real, but it does not suspend arithmetic. A small solar lamp still has a daily energy budget: whatever sunlight the panel harvested, minus conversion losses, battery losses, controller losses, and the LED load.
When shoppers chase lumens without looking at placement and runtime, they effectively spend their stored sunlight too fast.
What I measured on a north-facing porch
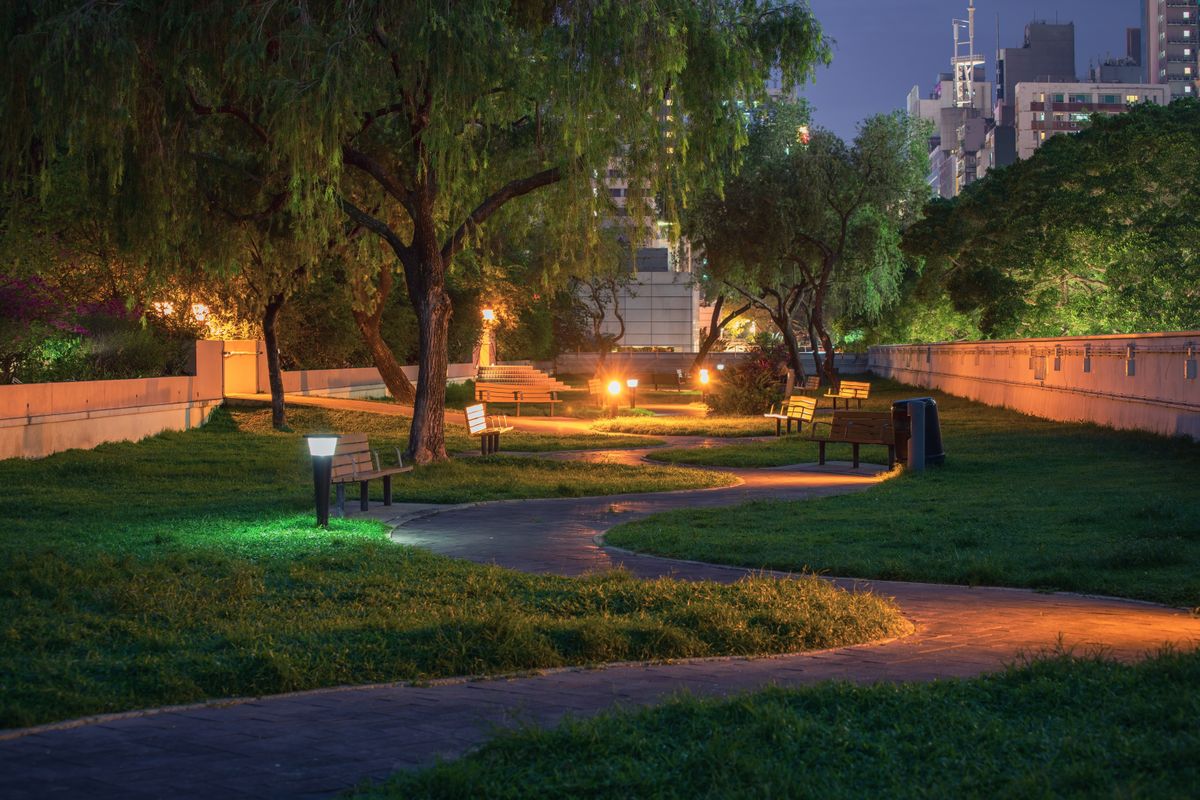
Photo by Gorma Kuma on Pexels
This was not a lab certification test. It was a practical field observation using three common planter-lamp behaviors: low-output accent, medium-output marker, and high-output decorative beacon. Conditions were deliberately ordinary: late-summer weather, a covered porch with partial sky exposure, and the kind of irregular watering a real planter gets.
Each lamp was fully charged outdoors for two clear days first, then observed over a mixed three-day period: one sunny day, one hazy day, and one cloudy day. I measured useful visibility from a seated position 8 feet away and checked whether a patio step edge could be detected without looking directly at the lamp.
| Setup observed | Approx. output | Placement | Sunny-night runtime | Cloudy-night runtime | Practical result | |---|---:|---|---:|---:|---| | Low accent | 8–12 lumens | Inside planter rim, shielded by foliage | 9–10 hours | 6–7 hours | Planter visible, low glare, step edge readable nearby | | Medium marker | 20–30 lumens | 12 inches above soil, aimed sideways | 7–8 hours | 4.5–5.5 hours | Better edge definition, acceptable glare if not facing seating | | Bright beacon | 50–60 lumens | Exposed stake, LED visible from chair | 4.5–6 hours | 2–3 hours | Looked brighter for photos, caused glare, died before dawn | | Same bright lamp, partially hidden | 50–60 lumens | Behind ornamental grass | 5–6 hours | 2.5–3.5 hours | Less glare, but much of the light was wasted into leaves |
The surprise was not that brighter lamps drained faster. That is obvious. The surprise was that the lower-output lamp often performed the actual “planter lamp” job better. It gave enough local contrast without pulling the eye to the LED itself.
My take: the sweet spot is usually 10–30 lumens, not 60+
My take: For a solar planter lamp, I would rather buy a well-sealed, warm-white 15-lumen fixture than a flashy 80-lumen one with vague waterproofing and a tiny panel.
Counter to what you will read elsewhere, I do not think most patio planters need to be bright. They need to be legible. A planter lamp should reveal shape, texture, and a boundary. It should not turn the container into a tiny interrogation room.
This matters for three reasons.
First, low-level light preserves contrast. Human night vision is easily disrupted by point glare. A visible bare LED can make the surrounding walkway feel darker because your eye adapts to the bright point.
Second, lower output extends runtime. If the lamp’s battery has a fixed amount of stored energy, a lower LED load gives you more hours after cloudy charging days. That is when solar products either feel reliable or cheap.
Third, softer light is friendlier to the garden. Artificial light at night is not just a human design issue. Peer-reviewed work in Science Advances has documented the global spread of artificial night brightness, and ecological lighting researchers have repeatedly warned that timing, spectrum, and intensity can affect insects and wildlife. Your planter lamp is small, but a row of bright, cool-white fixtures across a balcony or yard is still part of the night environment.
Warm white is not just “cozier”; it is usually the safer bet
Color temperature is where buyers make another quiet mistake. Cool-white LEDs—often 5000K to 6500K—look crisp in product photos. In a garden, they can look harsh and synthetic. Warm-white LEDs—roughly 2700K to 3000K—usually make soil, terracotta, wood, and green foliage look more natural.
The ecological argument also points in the same direction. The International Dark-Sky Association has long recommended warmer color temperatures and careful shielding for outdoor lighting because short-wavelength-rich light scatters more and tends to be more disruptive at night. You do not need to turn your patio into an observatory to apply the principle. Aim for warm, shielded, downward or sideways light.
For a solar planter lamp, I would treat 3000K as a practical ceiling unless you have a specific design reason to go cooler. If the product listing does not mention color temperature at all, that is a small warning sign. It may still be fine, but the seller is hiding one of the most visible characteristics of the lamp.
Waterproof claims: ignore the word “weatherproof” and look for IP ratings
Outdoor planters are wet, mineral-rich, and messy. Water does not only fall from the sky. It splashes upward from soil, condenses overnight, and runs down stems. Fertilizer residue and potting mix dust can also work their way into seams.
That is why I look for an IP rating rather than generic phrases like “all-weather” or “water resistant.” The IEC 60529 standard defines IP codes for protection against solids and water. In plain English:
- IP44 means protection against small solid objects and splashing water. Often acceptable for covered patios.
- IP65 means dust-tight and protected against water jets. Better for exposed planters and heavy watering.
- IP67 means temporary immersion protection. Useful, but not automatically necessary for a planter lamp unless pooling water is likely.
The plant is part of the lighting system
Most buyers imagine the lamp lighting the plant. In practice, the plant also controls the lamp.
A tall grass can shield glare beautifully, but it may shade the solar panel during charging. A broad-leaf plant can create dramatic shadows, but it can also trap moisture around the fixture. A trailing plant may cover the sensor that tells the lamp when to turn on. A thirsty plant may require frequent watering that tests seals more aggressively than rain.
This is where solar planter lamps are different from ordinary path lights. The living material changes every week. A lamp that worked perfectly in April may be buried under foliage in July.
I like pairing solar planter lamps with plants that provide texture without swallowing the panel: lavender, rosemary, compact ornamental grasses, sedum, thyme, dwarf boxwood, or small upright annuals. I am more cautious with aggressive trailing vines or huge leaves unless the lamp has a separate panel that can be placed above the foliage.
A simple decision framework before you buy
Photo by Jan van der Wolf on Pexels
Here is the decision framework I use. It is less glamorous than lumen shopping, but it prevents most disappointments.
1. Define the job
Pick one primary role:
- Accent: make the planter glow softly from a few feet away.
- Marker: show a patio edge, entry route, or balcony boundary.
- Presence: make the front porch look occupied.
- Task: illuminate an activity.
2. Choose brightness by job, not ego
- Accent: 5–15 lumens
- Marker: 15–35 lumens
- Presence: 20–50 lumens, preferably shielded
- Task: usually 100+ lumens, which is beyond what most planter lamps should be asked to do
3. Check the solar panel’s sky view
Before installing, place your phone flat where the panel will sit and use the front camera or a sky-view app as a crude check. If you mostly see roof, wall, or leaves, the panel will underperform. For solar lighting, two hours of decorative sun is not the same as six hours of direct or bright open-sky exposure.
4. Favor warm white and shielding
Look for warm white around 2700K–3000K. Avoid exposed LEDs that shine directly into seating areas or bedroom windows. If the lamp has a shade, frosted lens, or side-cast design, it will often feel better than a brighter bare diode.
5. Match IP rating to watering reality
Covered porch with careful watering: IP44 may work. Exposed patio or sprinkler zone: look for IP65. Poor drainage: fix drainage first.
6. Plan for maintenance
Solar products are low-wire, not no-maintenance. Every few weeks, wipe the panel, trim foliage away from the sensor, and check that soil has not splashed over the lens. After storms, confirm the lamp is still upright and the panel angle has not shifted.
Installation checklist for a better-looking solar planter lamp
Use this checklist before the first night:
- Charge the lamp in full sun for 1–2 days before judging runtime.
- Place the LED below direct eye line from your main seating position.
- Keep at least 2–3 inches of airflow around the fixture body.
- Leave the solar panel with the clearest sky exposure available.
- Use warm-white light if the planter contains wood, brick, terracotta, or greenery.
- Aim for reflected light off leaves, planter walls, or nearby paving—not direct light into eyes.
- Avoid placing the lamp where routine watering hits seams at close range.
- Recheck placement after the plant grows 4–6 inches or after repotting.
What makes a solar planter lamp feel premium
Premium is not the same as bright. In this category, the better clues are:
- Consistent runtime after mixed weather
- Warm, even diffusion instead of a visible LED point
- A stable mount that does not lean as soil settles
- Clear IP rating rather than vague weather claims
- Replaceable or serviceable battery design, when available
- Panel placement that remains exposed as plants mature
FAQ
How many lumens should a solar planter lamp have?
For most patios, balconies, and entry planters, 10–30 lumens is enough. Use 5–15 lumens for a soft accent and 15–35 lumens for a boundary marker. If you need to light stairs or a work area, do not rely on a planter lamp alone; add a dedicated path, step, or wall fixture.
Will a solar planter lamp hurt my plants?
Usually not, if it is low-output, warm-white, and not shining intensely on foliage all night. The bigger plant risks are practical: blocked airflow, wet soil around electronics, and shading the solar panel. For light-sensitive plants or pollinator-focused gardens, choose warm, dim, shielded light and use the shortest runtime that serves your purpose.
What IP rating should I look for outdoors?
For a covered porch, IP44 can be acceptable. For exposed planters, frequent watering, or sprinkler overspray, IP65 is a better target. IP67 sounds stronger, but it does not fix bad planter drainage. If water pools in the container, address drainage before installing any electrical product.
Why does my solar planter lamp stop working before morning?
The usual causes are insufficient sun, a dirty panel, a shaded panel, cold weather reducing battery performance, or a brightness setting that drains the battery too quickly. Start by cleaning the panel and moving it to a clearer sky view for two sunny days. If runtime improves, the lamp is not defective; it was undercharging.
Sources
- U.S. Department of Energy: LED Lighting
- IEC 60529: Degrees of protection provided by enclosures, IP Code
- Science Advances: The new world atlas of artificial night sky brightness
- DarkSky International: Outdoor lighting principles