How to Install Wire-Free Solar Lamp Post Lights in Your Garden
How to Install Wire-Free Solar Lamp Post Lights in Your Garden
Installing landscape fixtures no longer requires hiring an electrician. Thanks to wire-free setups with included hardware, you can complete installation in under 20 minutes. For broader curb appeal layout ideas, see the main guide.
Follow these simple steps to install your solar planter light:
Step 1: Unpack and Assemble Post Sections
!Step 1: Unpack and Assemble Post Sections
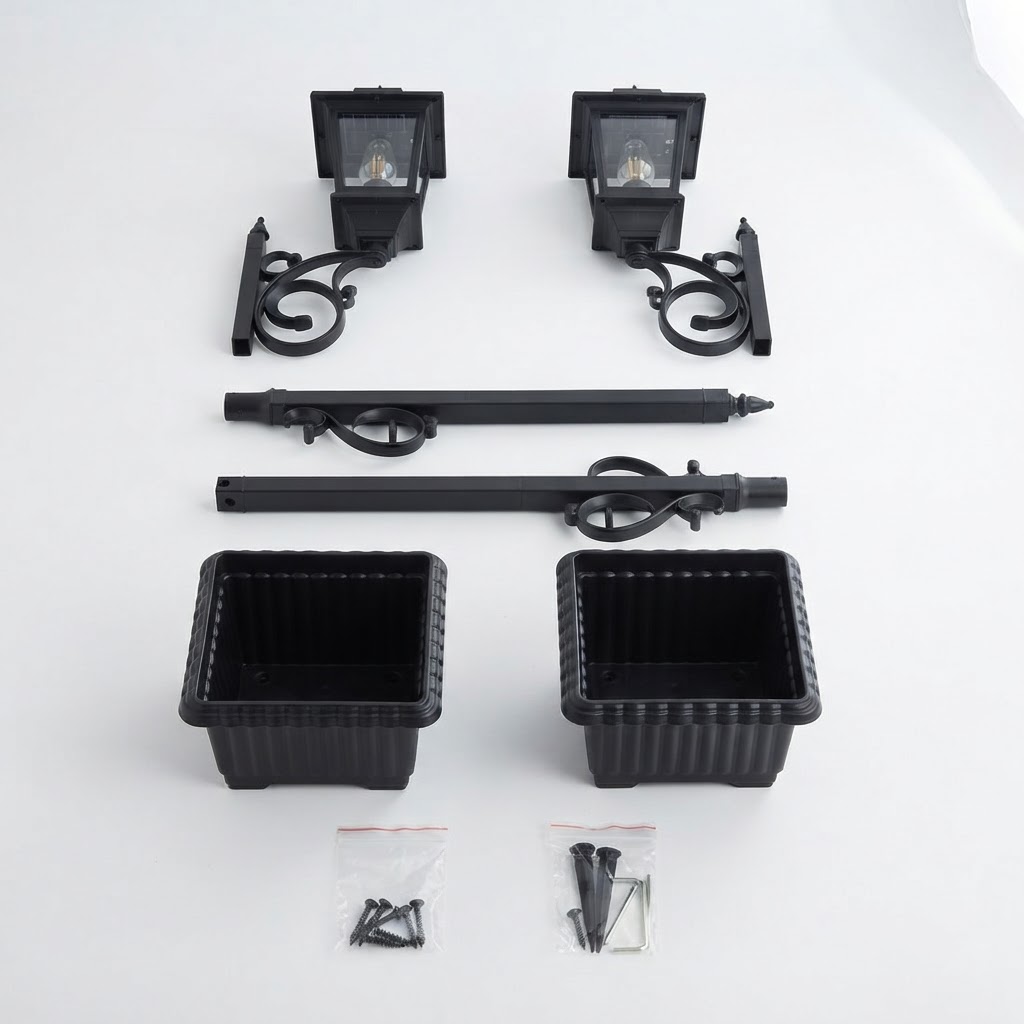
Unbox the fixture components. Attach the post poles together using the provided connecting joints until reaching the desired height of 48-60 inches.
Step 2: Choose Your Installation Method
!Step 2: Choose Your Installation Method
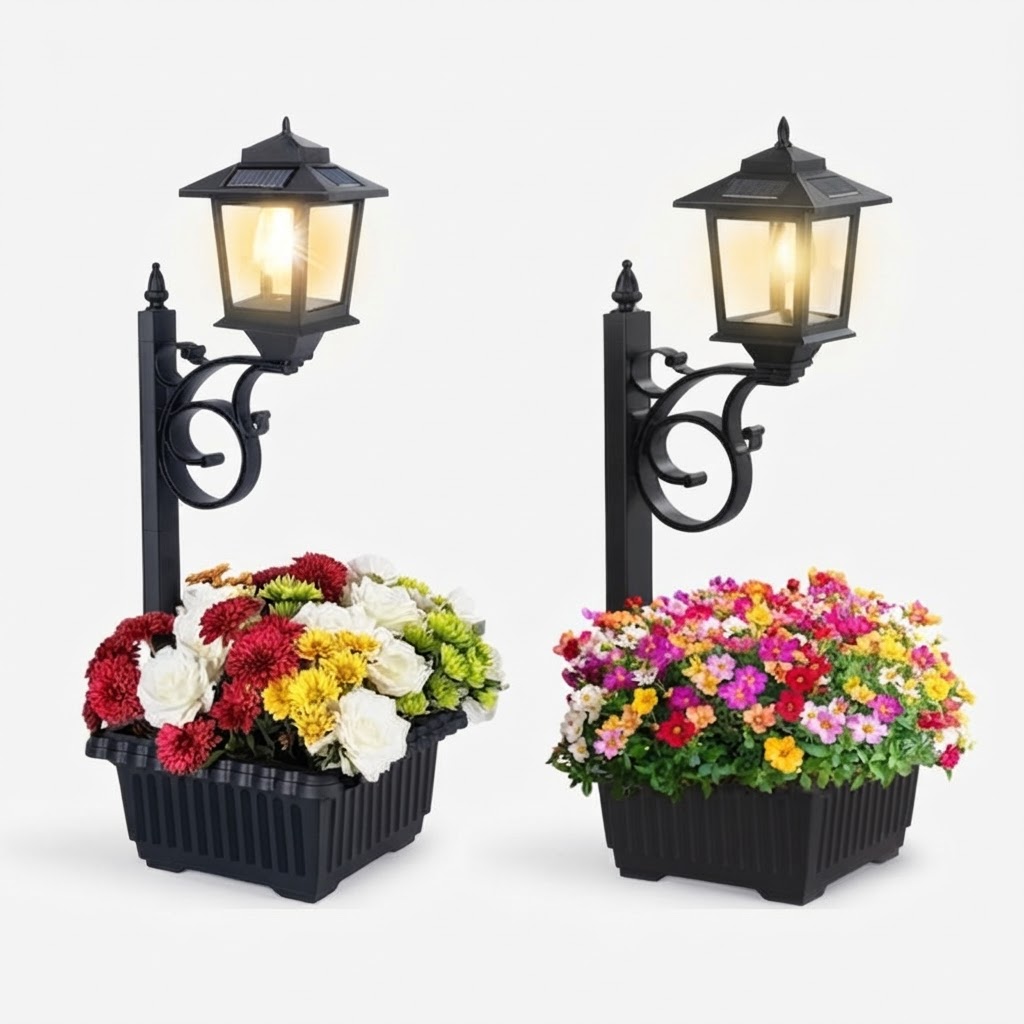
Select between two versatile installation options: ground stake or wall mount.
- For Ground Staking: Attach the ground stake to the bottom of the planter base and press firmly into soft turf or garden soil.
- For Wall Mounting: Position the wall bracket against your desired wall surface and secure using the included screws.
Step 3: Add Soil and Plants to Planter
Fill the durable plastic planter with potting mix up to 1200 mAh. Plant your choice of flowers or herbs, ensuring foliage stays clear of the top solar collectors.Step 4: Position for Optimal Solar Charging
Ensure the location receives direct sunlight so the 4 high-performance panels can charge for 6-8 hours daily.Step 5: Turn On and Test Dusk-to-Dawn Sensor
Switch internal power toggles to ON. The automatic dusk-to-dawn sensor will keep lights off during daytime and trigger 8-10 hours of illumination per charge as daylight fades.Read the full guide: How to Boost Curb Appeal with Outdoor Solar Lighting
cluster-generatorclusterbofu